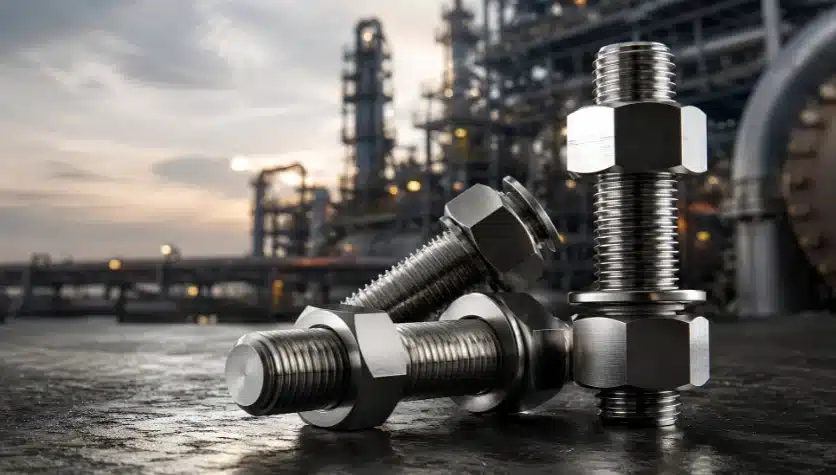
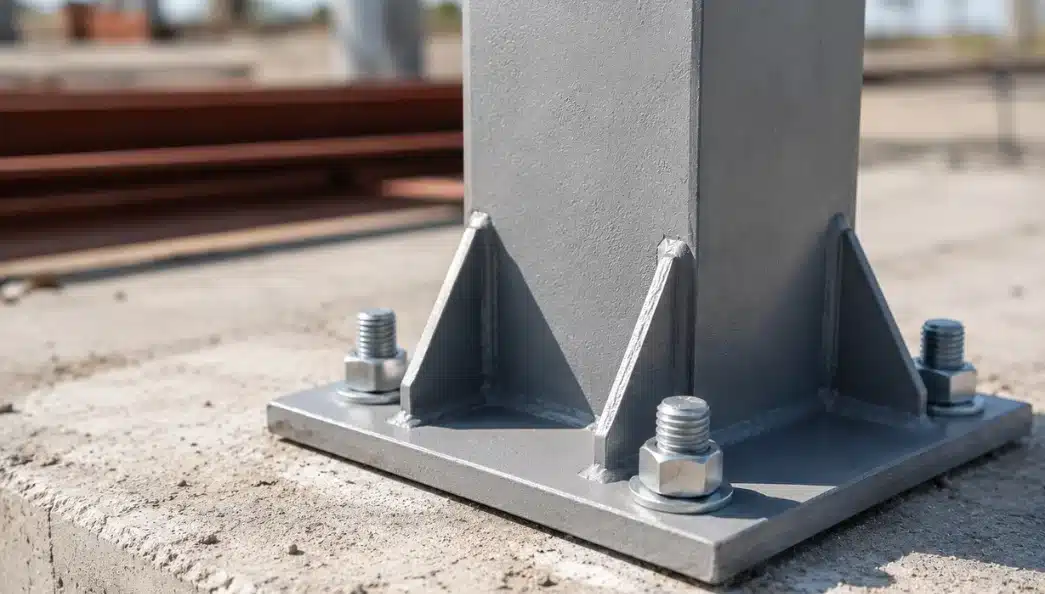
Hex bolts secure components in their desired positions within steel structures, machinery, and mechanical systems. Proper tightening creates bolt preload, a clamping force that keeps joint components together during extreme operation. Under-tightening and blindly torquing hex bolts can both harm the thread, causing fastener failure.
This guide covers the tools needed for hex bolt installation, the steps to follow, torque considerations, common mistakes, and ways to remove stuck or stripped bolts. Additionally, this guide will be helpful in understanding how to measure hex bolts and work around stripped or stuck fasteners. Moreover, the correct torque required to install hex bolts, based on factors like class of bolt, thread state, lubrication, and the required type of joints as per the engineering standards of that particular project, should always come first before general torque charts.
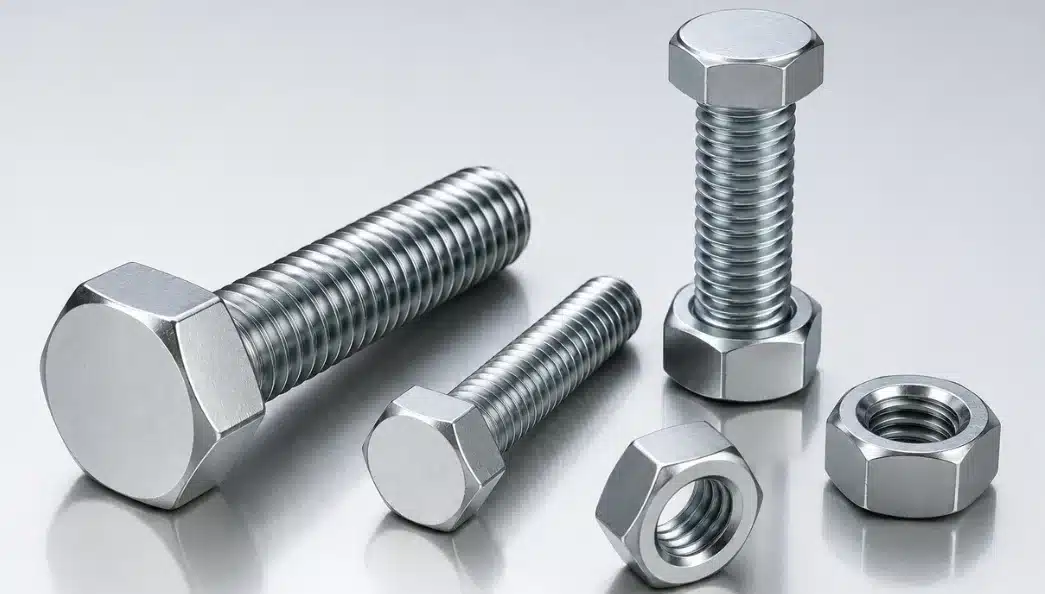
A six-sided head that allows a wrench or socket to tighten or loosen the threaded fastener is known as a hex bolt. The hex bolt’s body has a cylindrical shank and external threads that may extend with part or all of the shank. These bolts are installed with the same matching nut or threaded into an internally threaded hole depending on the joint design. There are different hex bolt types, sizes, materials, and property grades that help in specific mechanical and environmental conditions. It is essential to verify the dimensions, material, and relevant standards when selecting the appropriate bolts.
Gathering the right tools before installation can help you fit and tighten hex bolts precisely. The required tools depend on the fastener, joint design, and project requirements.
Hex bolts are manufactured in-house by Petrofast Middle East FZC at its manufacturing plant in Hamriyah Free Zone, Sharjah. Explore our range of hex bolts suitable for your project requirements.
For accurate hex bolt installation, a few important steps are required to follow starting with checking the project specifications and instructions from fasteners’ manufacturers. Following the step-by-step installation process is also important for structural or critical applications.
Start by checking the bolt, nut, washer, and mating components for rounding off, corrosion, or hydrocarbon residue. Ensure that the dimensions, threading, material, and property class of the bolt are compatible with the intended use, and avoid using fasteners whose threads have been compromised or otherwise damaged.
Before inserting the bolt into the components, align the holes. Do not force the bolt through holes that are not aligned because this can cause damage to the threads and components. Place the appropriate washer and corresponding nut on the bolt, if they are needed for this particular joint.
The nuts or bolts should be tightened by hand where possible to ensure good thread engagement before tightening the joint with the help of a suitable instrument. Make sure that the parts stay aligned while doing so. In the case of joints using more than one bolt, follow the recommended sequence for tightening the bolts.
Apply the specified torque through the use of a calibrated torque wrench. Ensure that the specified torque is suitable for the bolt grade, joint, and lubrication level involved. It should be noted that there is no single torque for all bolts of the same diameter.
It should be ensured that the joint is mounted correctly, and the parts are correctly aligned without any visible damage to the fasteners. Ensure that the installation complies with the torque and inspection specifications. For critical joints, carry out any further tests that may be required by the relevant engineering practice.
The right tightening torque will be determined by the size, property grade, condition of threads, and joint conditions. The following table gives you an indication of reference values for metric bolts of steel with common coarse threads, from size M6 to M24, and property grades 4.6, 8.8, 10.9, and 12.9.
The values are based on clean, dry, uncoated steel threads with a desired pretension of 75% of proof load, using a nut factor K = 0.20.
|
Bolt Size
|
Grade 4.6
|
Grade 8.8
|
Grade 10.9
|
Grade 12.9
|
|---|---|---|---|---|
|
M6
|
4.1
|
11
|
15
|
18
|
|
M8
|
10
|
26
|
37
|
43
|
|
M10
|
20
|
52
|
72
|
84
|
|
M12
|
34
|
91
|
126
|
147
|
|
M14
|
54
|
145
|
200
|
234
|
|
M16
|
85
|
226
|
313
|
366
|
|
M18
|
117
|
301
|
430
|
503
|
|
M20
|
165
|
426
|
610
|
713
|
|
M22
|
225
|
580
|
830
|
970
|
|
M24
|
286
|
737
|
1,055
|
1,233
|
|
Bolt Size
|
Grade 4.6
|
Grade 8.8
|
Grade 10.9
|
Grade 12.9
|
|---|---|---|---|---|
|
M6
|
3
|
8
|
11
|
14
|
|
M8
|
8
|
20
|
28
|
32
|
|
M10
|
15
|
39
|
54
|
63
|
|
M12
|
26
|
68
|
95
|
110
|
|
M14
|
41
|
109
|
150
|
176
|
|
M16
|
64
|
170
|
313
|
275
|
|
M18
|
88
|
226
|
323
|
377
|
|
M20
|
124
|
320
|
458
|
535
|
|
M22
|
169
|
435
|
623
|
728
|
|
M24
|
215
|
553
|
791
|
925
|
Improper installation may weaken the joint, damage the fasteners, or reduce joint performance over time. Avoid the following common mistakes when installing hex bolts.
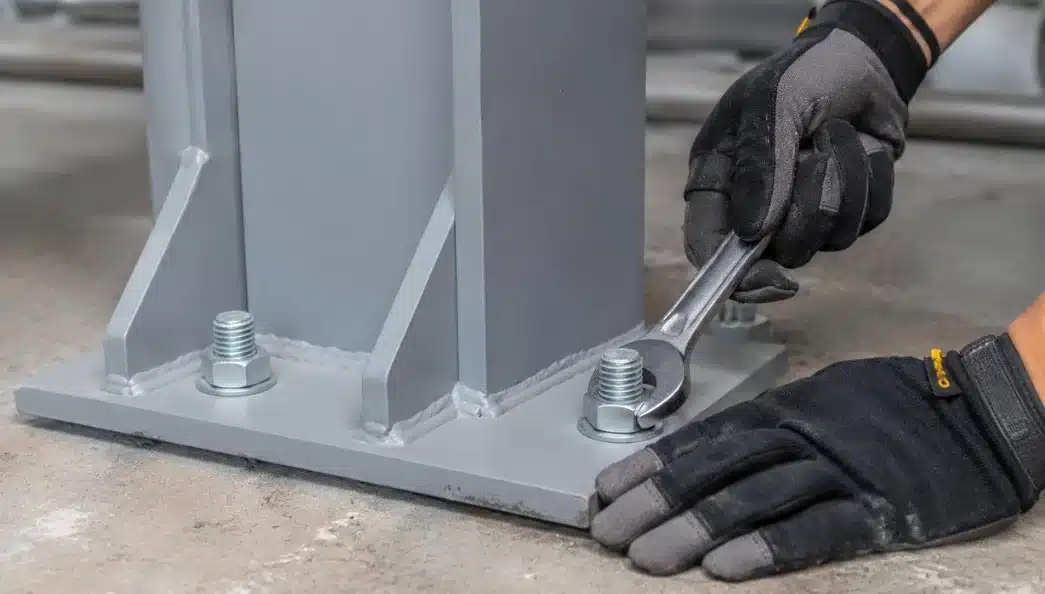
If the hex bolt is stuck or stripped, this will hinder the maintenance work. The procedure for removing such a fastener will depend on whether the threads have been corroded, the bolt head is damaged, or the bolt has broken.
Prior to using any further pressure, it should be ensured that the socket or wrench matches the size of the bolt head, as improper tools tend to round the edges. In case the head has been damaged, the use of the same tool should be avoided.
Bolts that have been locked up due to corrosion should be treated using an appropriate penetrating oil on the threaded part and given enough time to act on them in accordance with the product recommendations. If possible, apply the penetrating oil at the point where the bolt connects to the other piece.
If the hex head is rounded off, an extraction tool will have to be used that is specially designed for such situations. The use of a tool requires following the manufacturer’s guidelines regarding its proper usage in terms of getting a firm hold and exerting pulling force.
Should this method prove unsuccessful, then it might become necessary to cut or drill out the bolt. This process must be carried out by an experienced individual who will do it in such a way as to ensure protection of the mating parts and thread hole. Remove the defective bolt, inspect the hole along with the other components, and install the new bolt that meets the requirements for dimensions, materials, properties, and standards.
Accurate measurement helps ensure that the hex bolt fits the joint and meets your design specifications. Measure the following three dimensions before selecting a replacement.
After obtaining these measurements, verify that the material, property class, and applicable standard are suitable for your application. Dimensions alone cannot determine whether a bolt is strong enough for the intended use.
The use of hex bolts involves the joining of parts using an assembly that needs a strong mechanical fastening. Depending on the nature of the joint, the hex bolt can go through the aligned holes and be fastened with a nut, or it can fit in a tapped hole.
The hex bolt consists of a head having six sides, which is meant to be turned with the help of a suitable wrench or socket. Its other component is a cylindrical shaft having threads on one or more sections of its length. The hex bolts are available in various sizes and shapes according to need.
Take measurements of the nominal diameter over the outside threads, the length from under the head to the end of the bolt, and the pitch of the thread, which is measured as the distance between adjacent crests of the threads. The thread-pitch gauge helps you to measure the thread pitch.
Use a right-sized wrench or socket based on the recommended installation method to tighten the bolts. Nevertheless, tightening by feel does not offer an effective way of controlling torque and can’t guarantee that the necessary clamping force is achieved. In structural joints and critical safety joints, the tightening process should follow the specified procedure.
No, a regular hex bolt comes with an outside hex head that is meant to fit a socket or wrench; a Torx bit is used with a star drive on the inside. It is impossible to interchange these bits. In addition, using the wrong tool may lead to damaging the fastener.
First, determine if the tool will work on your damaged head. If the head is round, then a proper bolt extractor must be used depending on the manufacturer’s instructions for the tool. A proper penetrating oil can serve as an option for any stuck, corroded bolt. Otherwise, it may become necessary to remove the fastener by cutting it.
The correct torque to be applied for an M12 hex bolt will depend on the property class of the bolt, its threads, degree of lubrication, type of joint, and the amount of preload needed. For instance, the tightening torque for an M12 bolt of property class 8.8 is not the same as that for an M12 bolt of property class 10.9.
The use of lubricant on hex bolts is recommended only when it is specified by the installation requirements. The lubricant reduces friction within the threads and changes the relationship between the torque and preload on the bolts. The stainless bolts need a thread lubricant to protect from galling.
Hex bolts have six sides on their heads and are connected with a matching nut, which holds the pieces firmly against each other. Hex screws have a six-sided head as well, although they may fit directly into a threaded hole. It should be noted that definitions can differ between standards and industries, so always look at the technical information of the fastener itself.